Date: March 30, 2008
Title: Wiimote Headgear
After seeing what was possible using the wiimote and a little ingenuity I decided to take it a bit further and create my own headgear so I would not have to use the wii sensor bar.
All you need is a ball cap, wire coat hanger, something to cut the coat hanger wire, a cheap $3 dollar battery casing for the batteries (I got mine from thesource formerly known as radio shack, it even has a built in on/off switch!), 2 infrared LED's, and a short piece of small electrical wire about twelve inches long. You will also need something to detect if the infrared LED's are working. I used my camcorder with night vision to verify if they were working. Oh yeah and some duck tape!
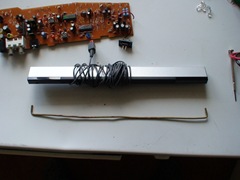
Step 1: Cut the coat hanger the length of the sensor bar
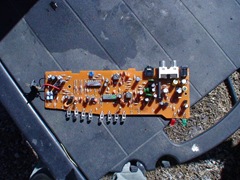
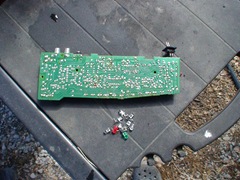
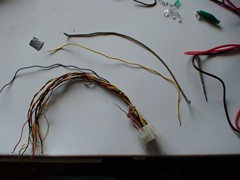
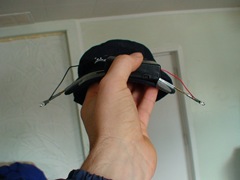
As you can see from the pictures I got my infrared LED's from an old infrared wireless headphone set, but you should be able to buy them for fairly cheap.
As you can see from the picture I cut the coat hanger the length of the sensor bar and left a little bit so I could curve the ends I did this so that the LED's could be mounted easier. I also bent a curve in the coat hanger so that it would conform to the curve of the ball cap. Another thing that you wil notice is that i wrapped the ends of the coat hanger with duct tape to help prevent any shorting out of the wiring. It is a metal coat hanger after all. Don't put too much tape on otherwise your LED's may not be able to slip over the ends nicely.

Step 2: Wire it up
The next step is to find a small piece of wire that you can use, that is the length of the coat hanger. The wire I used was from a very old office printer. I attached this wire to the coat hanger with duck tape then attached the coat hanger to the ball cap with more duck tape.
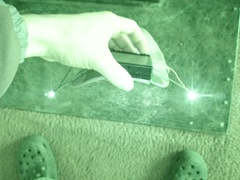
This next part took some time to figure out the wiring because I had to use the night vision setting on my video camera in order to verify that the LED's were actually working and wired properly. Also the LED's will only work if you hook them up a certain way so this step is very much a trial and error process.
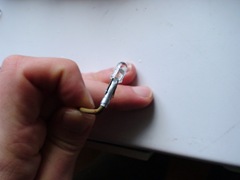
I should also mention that I attached the wires to the LED's using solder I scraped off of the same circuit board I got the LED's from. But you should be able to attach the wires to the LED's by wrapping the wire to the LED prongs and individually taping them. I have never done soldering before and trying to scrape solder off of a circuit board is alot harder then it seems.
Step 3: Putting it all together
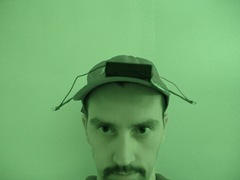
All that is left is to attach the battery pack and coat hanger to the ball cap.

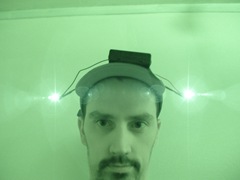
Your new dorky looki ... *cough* ... I mean VERY COOL wii headgear!
The whole project took about a couple of hours to complete. The hardest part I found was trying to figure out the wiring. After I realized that the LED's needed to be wired up a certain way everything was pretty straight forward after that.

I continue to be amazed at what the wiimote can actually be used for. If you want to find out what else you can do with a wiimote check out Johnny Lee's blog.